

QUICK NOTE! ALL BUTTONS WORK IN THE NEW STEAM DECK OLED! I'll update this guide when I have time to do so, for now please see a disassembly and installation from this livestream here.
Installing aftermarket Steam Deck buttons isn't too hard. Before you start, here's some things you should have on hand:
- Screwdriver
- Plastic Pry tools (no metal)
- A place for Screws. Try Decky's Modmate Screw Tray!
- Tweezers
- A soft spot for your Steam Deck (mousepads are good!)
Before you proceed, REMOVE YOUR SD CARD.
If you'd like to see a live install in video format, click here. A more concise video is in the works, this was just a live hang install.
Step 1: Disassembly
 Flip your Steam Deck over and take out the back screws. There will be 8 screws total. The 4 outer screws are longer, and the 4 inner screws are shorter.
 After removing the screws, begin prying the shell open starting from the back trigger area. Once the first clip is unfastened, gently work your way across the Steam Deck. The initial clip may be tough, but it becomes easier as you progress around the shell.
Step 2: Internals. Right Side (DPAD)


First, disconnect the power from the board. We'll focus on the right side, the DPAD side of your Steam Deck. Gently pry the power connector up from the back. Handle with care as the connector is delicate; avoid pulling by the wires.

 Now, let's disassemble the trigger assembly. Wedge your pry tool under the hinge, as shown in the photo. Holding the trigger provides more control, preventing the button and spring from dislodging. Once the hinge is loosened, tilt the entire trigger outward to fully release it.
 Let's proceed to detach the base of the trigger assembly. Simply unscrew the three screws highlighted in the image, and the base will effortlessly lift away.

 Now's the moment to disconnect the ribbon cables. Gently lift the hinged door to free the cables, being mindful of their delicate nature. Refer to the image to identify which cables to detach – you can leave the cable marked with a red 'X' connected.
 Moving on to the Joystick module: just unscrew the three highlighted screws to release it. After unscrewing, lift the module right out.

 Next up: removing the main board. Refer to the image for the screw locations. To lift the board, start from the bottom left corner. Tilt it up and to the right, freeing it from the peg near the trigger assembly. And when you're freeing the board, give a nod to our trusty peg near the trigger assembly.. it's been holding things together for you!

 Next up: the bumper assembly. After unscrewing, gently tilt the trigger assembly outwards and to the right. Take note of a tiny clip that assists in securing the trigger to the shell. It's circled in the second image. If your deck is older, you may only have one screw to remove here.
 Great job! Just remove the membranes highlighted in the image to access your buttons. Note: The D-PAD membrane might be connected to the bumper assembly. It's fine to detach them for reassembly.
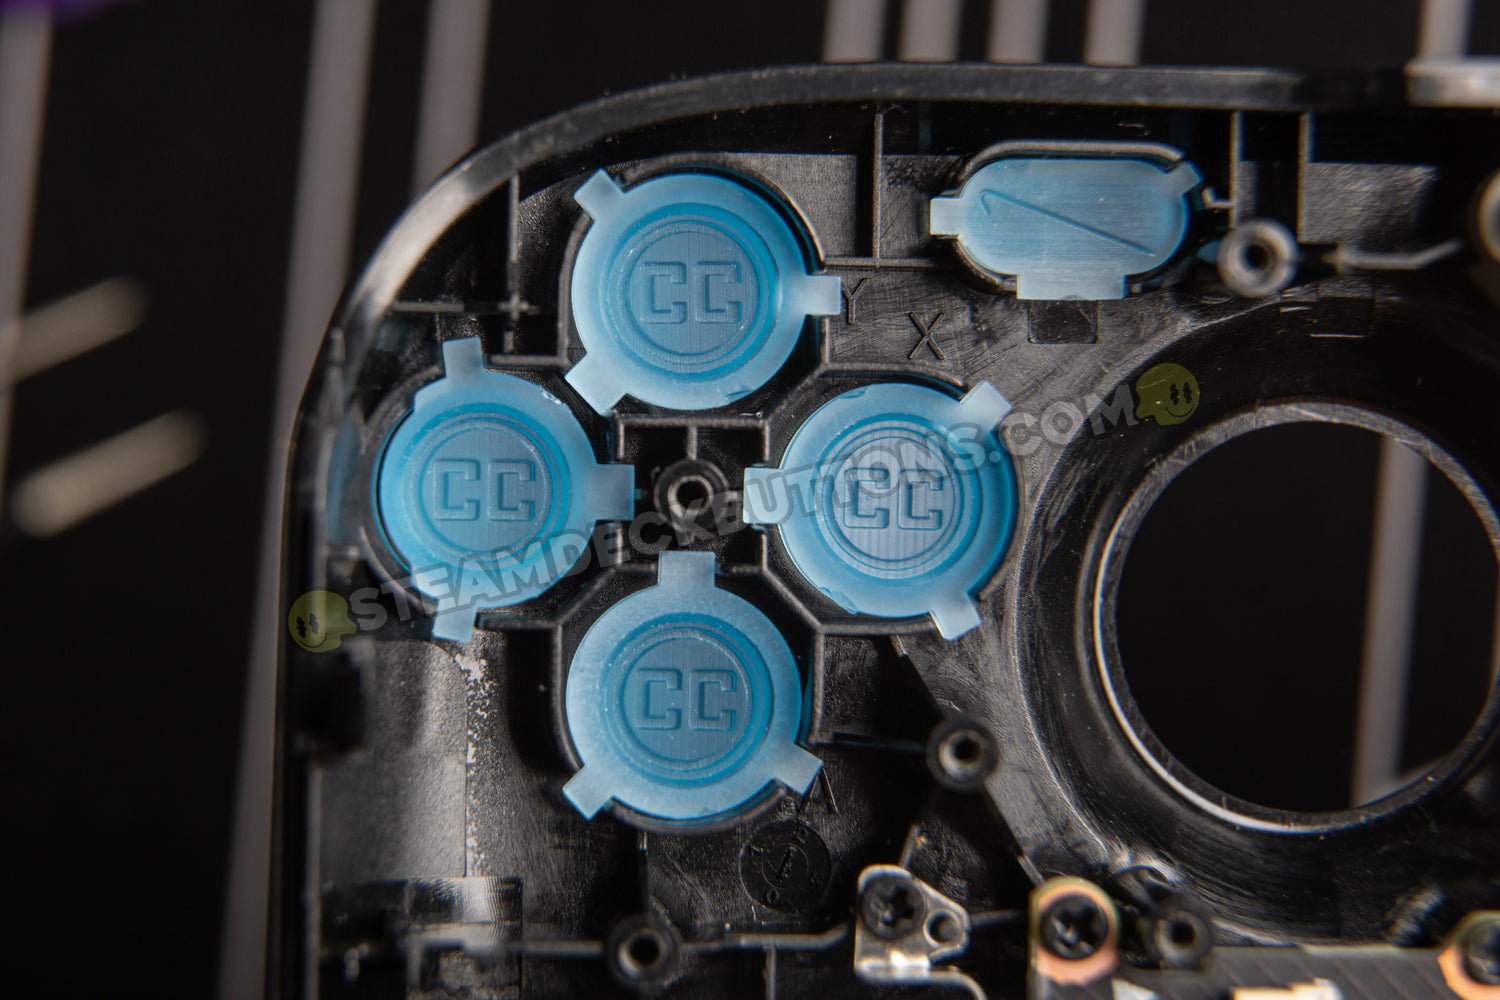
 Slot in your new buttons and follow the steps in reverse to piece this side of your deck back together. The button backs have logos and text to help you easily identify the proper orientation during the install. Please ignore the cake, it's a lie.
A quick heads-up: Pay special attention to the "..." button's membrane. If anything seems off after reassembly, it's most likely due to this membrane shifting during reassembly.
Step 3: Internals. Left Side (A,B,X,Y, etc..)
 This side is very similar to the other side, so we'll be moving more quickly with this half of the guide. First, let's disconnect the board's power.
 Just like last time, release the hinge and remove the trigger assembly and it's base.
 Here are the ribbon cable locations for this side of the Steam Deck. Note there's one additional cable to detach compared to the right side you've just worked on.
 Take out the joystick, just like you did on the opposite side.
 And here are the mainboard screw locations, same as last time take note of the pin near the trigger area!

 This side presents a slight variation. Notice the tiny screw securing the heat shield? Unscrew it. After that, carefully lift the heat shield using the guidance point shown in the image. This will allow you to smoothly extract the bumper assembly tucked beneath.

 All set. Just pull back the membranes and pop in your new buttons. While you're at it, tip your hat to Gordan's crowbar before positioning the membrane back in place. And just like last time, simply follow this guide in reverse for reassembly.
A quick heads-up: Pay special attention to the "Menu" button's membrane. If anything seems off after reassembly, it's most likely due to this membrane shifting during reassembly.